
Homemade Yogurt
 Homemade yogurt is ultimately an easy kitchen project anyone can put together with success, as long as you’re willing to accept a little inconsistency……...
When I was in elementary school, my mom packed my lunch every day. I wasn’t one of those kids who glamorously got to wait in line for a hot lunch; I was the one with a grease-stained paper bag. On the very rare occasion, my mom would pack up a yogurt cup. I favored the kind with sweetened yogurt on top and jam-like fruit on the bottom.
Homemade yogurt is ultimately an easy kitchen project anyone can put together with success, as long as you’re willing to accept a little inconsistency……...
When I was in elementary school, my mom packed my lunch every day. I wasn’t one of those kids who glamorously got to wait in line for a hot lunch; I was the one with a grease-stained paper bag. On the very rare occasion, my mom would pack up a yogurt cup. I favored the kind with sweetened yogurt on top and jam-like fruit on the bottom.
Thankfully, my taste buds have matured and the thought of pre-sweetened yogurt is cringe-inducing. And while I eat yogurt daily, I never considered making it at home until my friend Lynda eco-guilted me by pointing out my habit creates considerable waste from all the plastic yogurt containers I blow through. This simple statement of fact forced me into the kitchen.
Homemade yogurt is ultimately an easy kitchen project anyone can put together with success, as long as you’re willing to accept a little inconsistency. Made from the binding of milk proteins, homemade yogurt will vary in texture and richness each time you make it. Temperatures, good bacteria and milk fats will vary slightly with every batch you make, so no two will be identical.
To make yogurt, milk is heated to just below boiling and then cooled—a warm jump start wherein good bacteria can proliferate—and then held at a consistently warm temperature for hours. You need to introduce good bacteria (just like bread yeast) to the milk to activate the fermentation process. You can use either non-fat, low-fat or whole milk as all produce excellent results. The biggest challenge with homemade yogurt is maintaining a warm space needed for the milk proteins to bind together. You can incubate warmed milk in a number of ways: storing in a cooler with a hot water bottle, placing in a warm cupboard next to a hot water heater, even using one of those 70s-era plug-in yogurt makers. Over the years, I’ve settled on a simpler technique that doesn’t require special equipment—justyour oven.
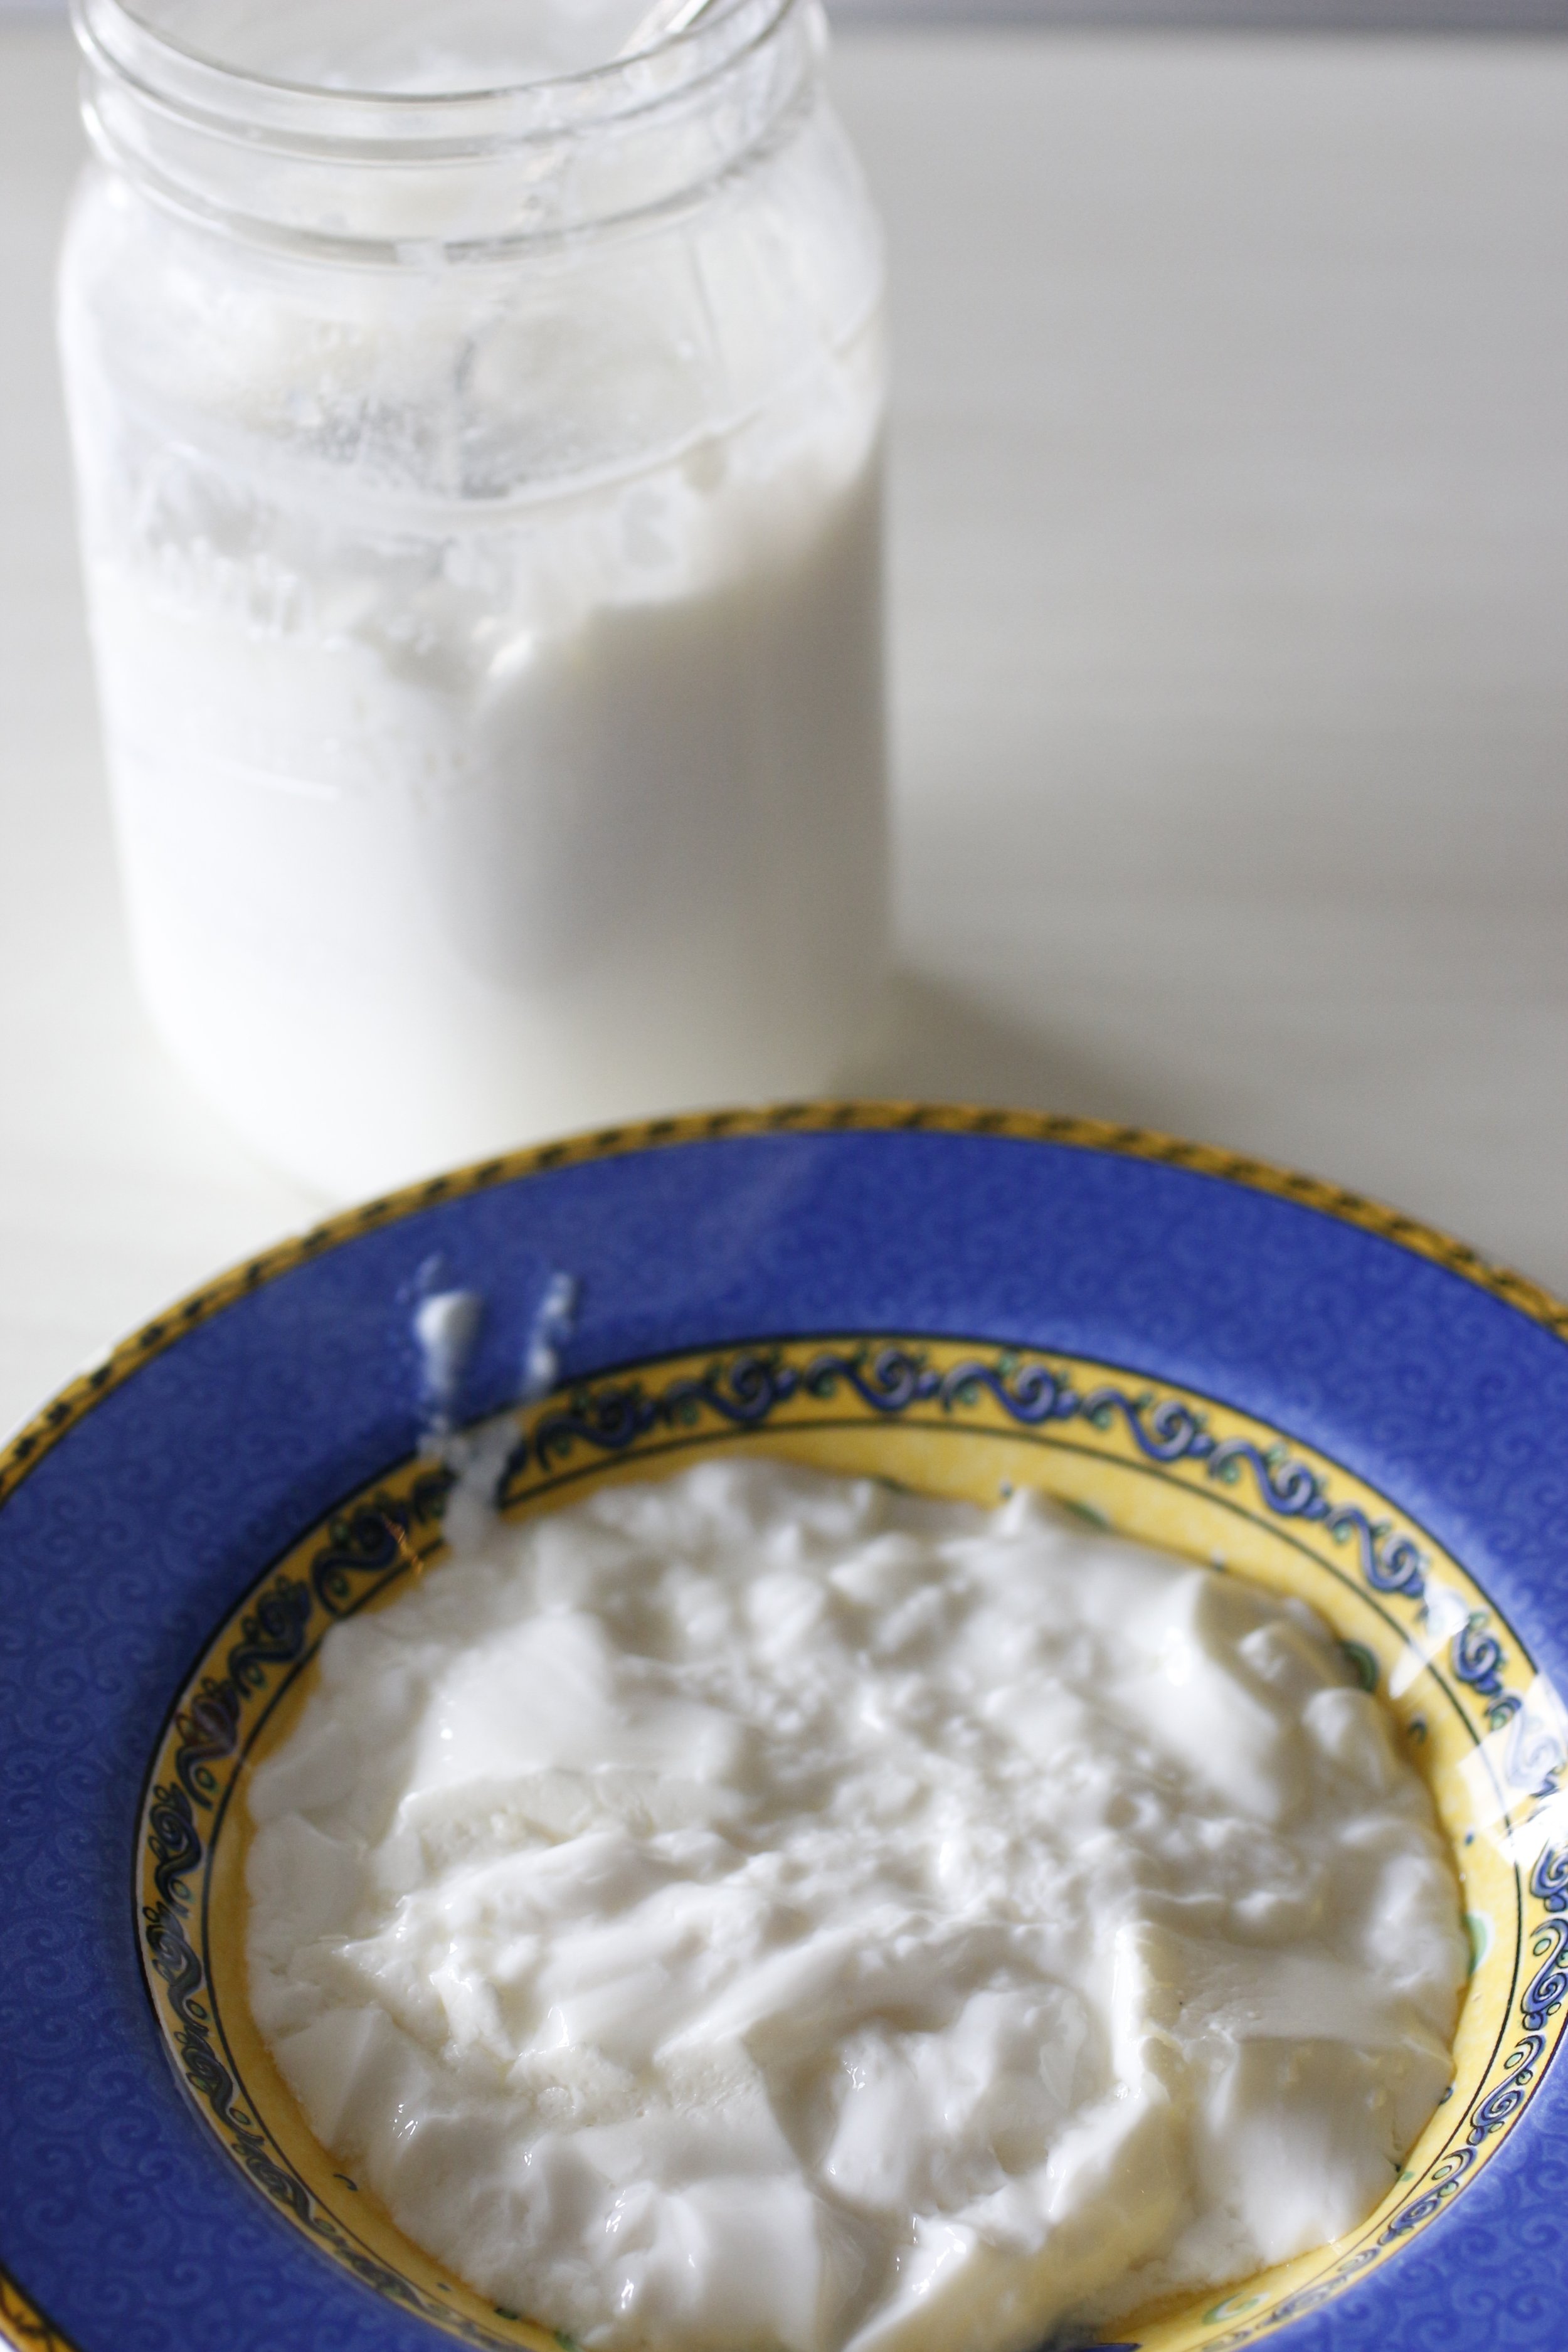
After the yogurt sets up in the oven overnight, it is chilled where it will thicken further. Homemade yogurt varies in texture. I prefer a smooth, pourable consistency, but you can easily manipulate yogurt into a thicker, lusher product. If the final batch is too loose or you are after a Greek-style yogurt, strain the chilled yogurt through a fine mesh sieve at room temperature for several hours. This produces less yogurt (about a pint, depending on just how thick you want it) and a cup or two of whey that you can use in another recipe (try using it to cook polenta).
For a hands on class about homemade fermentation, including how to make yogurt, kefir kombucha and more, check out my upcoming class schedule. Hope to see you there!
HOMEMADE YOGURT
makes 4 cups | start to finish: 30 minutes active time + overnight rest
6 cups of dairy milk 4 tablespoons plain yogurt with live yogurt cultures
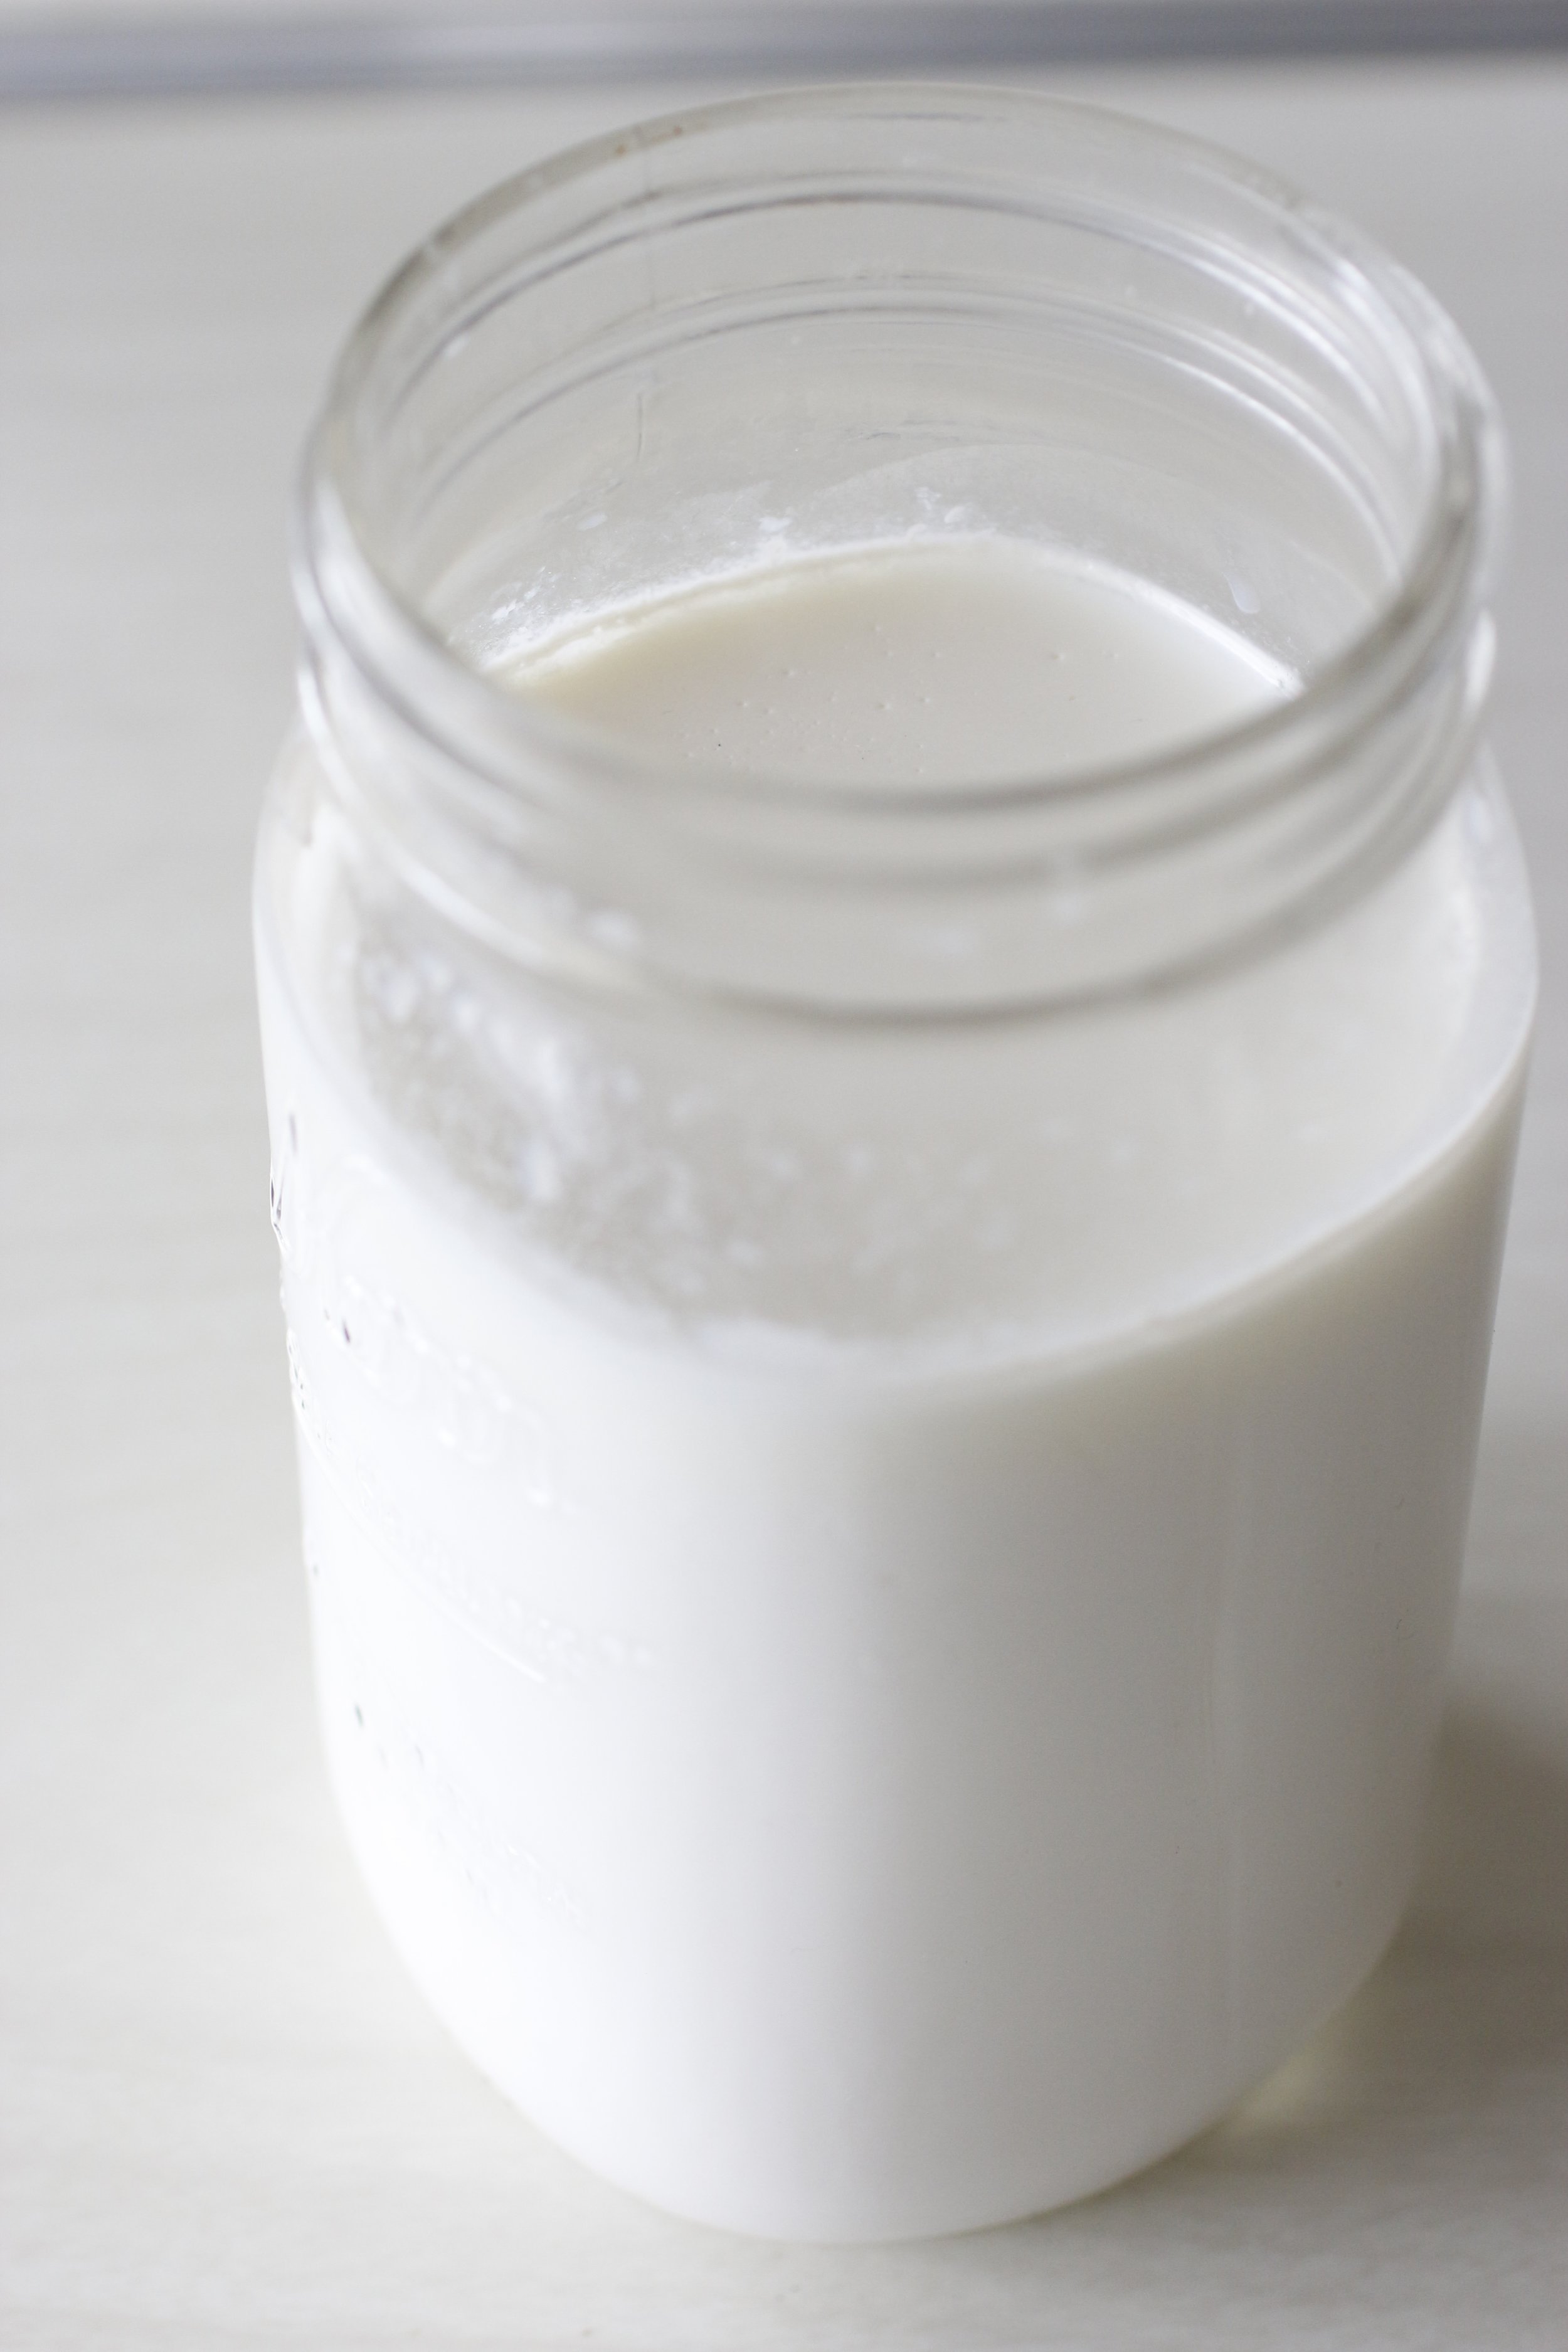
Heat the milk over medium heat until quite hot, but not boiling—about 180 degrees if you’re using a thermometer. Remove pot from the heat and let cool until it’s 115 degrees, still nicely warm, but not immediately hot to the touch.
While the milk is cooling, preheat the oven to 120 degrees or your lowest setting. Turn oven off once it’s been warmed, but do not open the door.
When milk has reached 115 degrees, place the 4 tablespoons of plain yogurt into a large, non-metal bowl and slowly whisk in one cup of the warmed milk. Add the rest of the milk to the bowl and stir to combine. Cover with a large plate or plastic wrap. If using plastic wrap, poke a few holes on top to allow air flow; if you’re using a plate, air will escape around the edges.
Working quickly, place the bowl in the oven and close the door. Turn on the oven light, if you have one, and let the bowl sit overnight.
In the morning, remove the bowl from oven and test the set of your yogurt. If the yogurt is very thin, like heavy cream, and you’d like it thicker, you may reheat your oven to 120 degrees and place the bowl in the oven for another 4-6 hours. Afterwards, move to the refrigerator to chill completely, where yogurt will continue to thicken slightly.
If you would like a Greek-style final yogurt, set a fine mesh strainer over a large bowl and drain off the whey. The longer you strain the yogurt the thicker it will become, so be mindful and check the set every hour or so.
Store the final yogurt in a covered glass jar or plastic container in the refrigerator. Yogurt will keep for several weeks. Save four tablespoons as a starter for your next batch.
washed jars • store in fridge