
Setting Up Your Container Garden - Tips for Apartment Dwellers and Small Spaces
Many moons ago, I tried to convince a boyfriend to let me grow food in his yard, tearing out existing landscape. (He declined and now has a vegetable bed in the worst place, which I secretly love.) I have a habit of sizing up random yards searching for the perfect place to grow food because sadly, I don’t have a yard or garden of my own. I’m relegated to planting any food I want in pots. It's honestly not my preference, but still, I like to think that I’ve perfected the art of growing in my microclimate. I know I share circumstances with many of you: without some pots on a patio, balcony, or windowsill, we would be plant-less. No fun. So, here, I am covering container basics for the urbanite looking to supply their kitchen with some garden goodness.
You should know from the onset that not all vegetables grow well in containers. By planting in a contained environment, you are inhibiting the plant’s growth to some extent. Think about it — plants can send out roots and root hairs only as far as the walls of the pot allow. Restricted by the pot, not all plants will come to full maturity and produce food. This presents the biggest challenge of growing food in small spaces.
Deciding What to Grow The ultimate goal is for your garden to be productive. I aim for a constant supply of ingredients for the kitchen, so I nurture plants that can be continually harvested. I suggest growing plants that will be used frequently, but in small amounts. This gives plants time to regrow between cuttings — no sense in planting a crop that you’ll wipe out in one go. (I figure it’s better to have something available over a long course of time.)
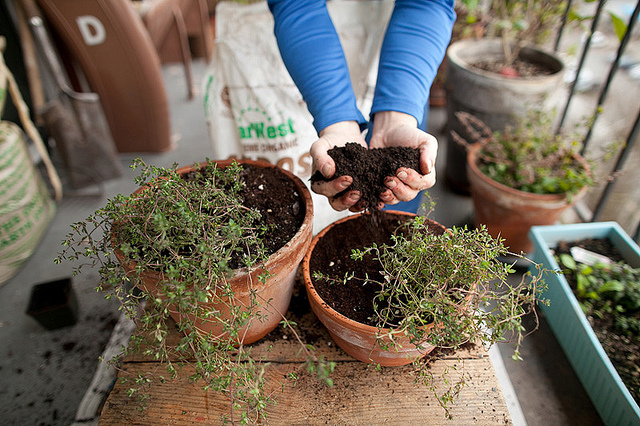
• I rely heavily on herbs in my garden. Herbs will single-handedly change the flavor of most recipes and are often pricey at the grocery; many are not commercially available.
• Plants that produce abundant quantities of ingredients that I know I’ll use often are also a favorite. Lettuces, for example: these are wonderful to grow at home. They take up little space, produce (and reproduce!) quickly, and offer fresh greens for salads, or for a nice leafy garnish. I use lettuce in large amounts, and their fast growing cycle makes them highly productive, economical, and worthwhile.
• Plan on mixing it up to make sure there is always something new and different to harvest. Choose plants that will run through their life cycle in one season (annuals) as well as plants that continue to come back year after year in the same pot (perennials).
• Make the most of what you grow by considering its uses beyond the kitchen. Lavender makes a subtle herb rub for seared duck breast and can also be used as a herbal stuffing for an eye pillow. Scented geranium leaves can be chopped and used in sweet recipes, infused into water for a facial toner, or steeped to make teas.
• A container garden should ebb and flow, just like a large garden. Some plants are grown for their leaves, some for their seeds, and some for their fruits. I try to round out my garden plan so there is always something ready to harvest. Today, as I write this, I have marjoram, thyme, and scented geraniums that survived the winter. Arugula and mache are just popping up, too, having reseeded themselves from last year (at the end of the season I stopped harvesting their leaves and let them "go to seed" — the matured plant grows seed pods that fall into the soil and regrow). Within three weeks, the lovage should be starting to show (the same plants I’ve had for four years) and I’ll be planting a second crop of arugula.
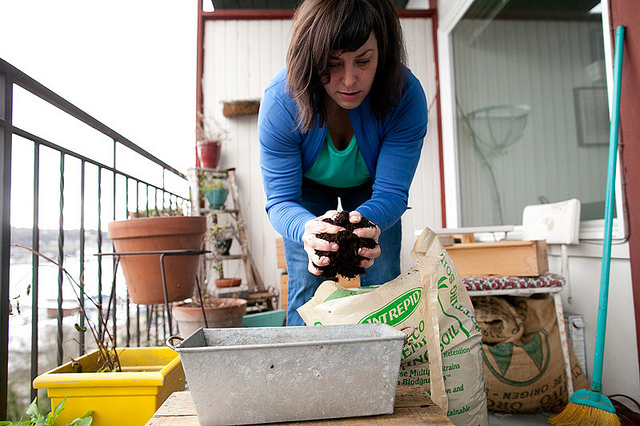
Getting Started To start a garden in containers, at a bare minimum you’ll need pots, soil, and a low-level organic fertilizer. A bag of compost is also a great addition. Access to water is an important consideration. In my own garden, I fill eight old water bottles and carry them back and forth from my kitchen sink. Just make sure you have some way to water your plants, as containers require a diligent watering schedule.
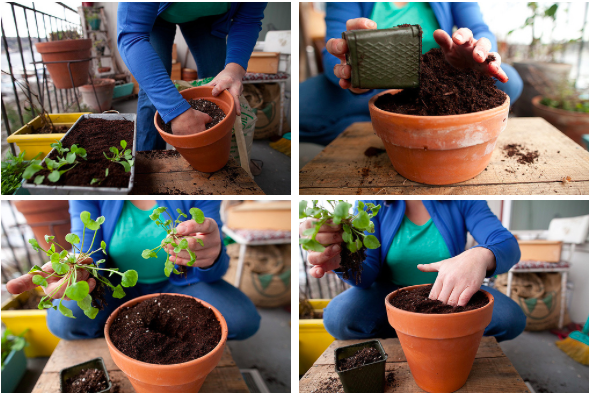
Most plants need a little legroom to stretch their roots. Try to plant in a pot that’s a bit bigger than the plant will actually need. It is better to leave a little wiggle room than to have plant roots mashing up against the container walls. If you allow for some growth, you increase the odds of your plant growing to full maturity.
Materials Plastic pots are the least expensive container option, so they’re great for anyone on a budget. It’s true that they are usually the least attractive option, but they hold their moisture longer than clay or ceramic pots and are lighter and easier to move around.
Clay pots are porous, so air moves easily through their walls. This is helpful in that it allows roots to breathe and keeps them out of direct water, but it’s not helpful in that the soil tends to dry out quickly. In hot weather you’ll need to closely monitor the moisture in your clay pots. They are a fairly inexpensive option for the home gardener after plastic, and they come in myriad shapes and sizes. If you choose clay pots, be sure to purchase a saucer or plate to sit under the pot. This works in two ways — to keep moisture off the surface of your deck or patio and to hold in moisture for the plant.
I won't be discussing it here, but making your own pots is super rewarding, too!
Soil You must use potting soil in your containers — soil mixes are formulated to maintain a certain level of lightness so that plants are able to breathe, drain well, and still hold in some moisture. (Air is right up there with sun and water in importance to healthy, thriving plants!) Look for organic potting soil mixes from smaller regional companies rather than the national brands you’ll find in big-box stores. Choose a potting soil that has no added fertilizer or nutrients. It is best to add those on your own as needed for the particular plants you will grow.
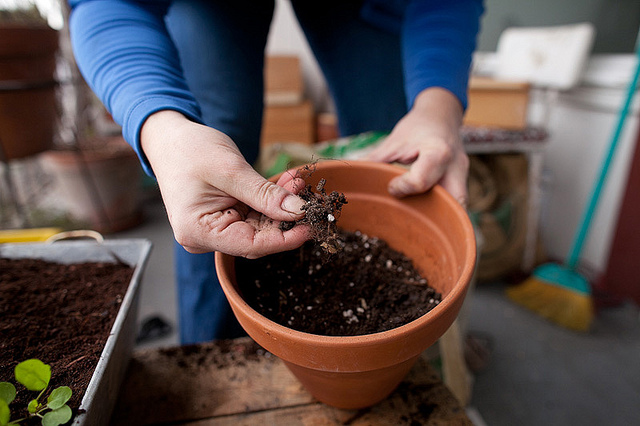
If you are adding new plants to previously used containers, do not rely on simply digging a small hole in the soil and stuffing in a plant start. Old soils often contain dead roots from previous plants (see above). These roots will impede the new plant’s roots and constrict air as the new plant tries to grow into the same small space. For that reason, just as you would in a garden bed, it’s best to rework your soil before planting. As on the farm, till your soil using a fork or your hands. Loosen it up, remove the root hairs, then gently work in some compost and a spoonful of a low-level organic fertilizer before adding a new plant start.
We will cover more container plant topics like feeding your plant, tending for plants, and more in upcoming articles, but for now these are the basics you need to get growing. As ever, I’m looking forward to all of your questions in the comments!
Up next, seed starting: big things come in tiny packages.
Photos by Della Chen